
As a reputable LPG storage tank supplier, I've received numerous inquiries about the installation of remote - control valves on LPG storage tanks. In this blog, I'll share a comprehensive guide on how to install a remote - control valve on an LPG storage tank, ensuring safety and efficiency throughout the process.
Understanding the Basics
Before diving into the installation process, it's crucial to understand the role of a remote - control valve on an LPG storage tank. A remote - control valve allows operators to open or close the valve from a distance, which is extremely useful in emergency situations or when direct access to the valve is difficult. It enhances safety by reducing the risk of exposure to LPG during valve operation.
Pre - installation Preparations
Safety First
Safety is the top priority when working with LPG storage tanks. Before starting the installation, ensure that the tank is completely depressurized. This can be done by following the manufacturer's instructions for proper depressurization. Wear appropriate personal protective equipment (PPE), including safety goggles, gloves, and a fire - resistant suit.

Selecting the Right Valve
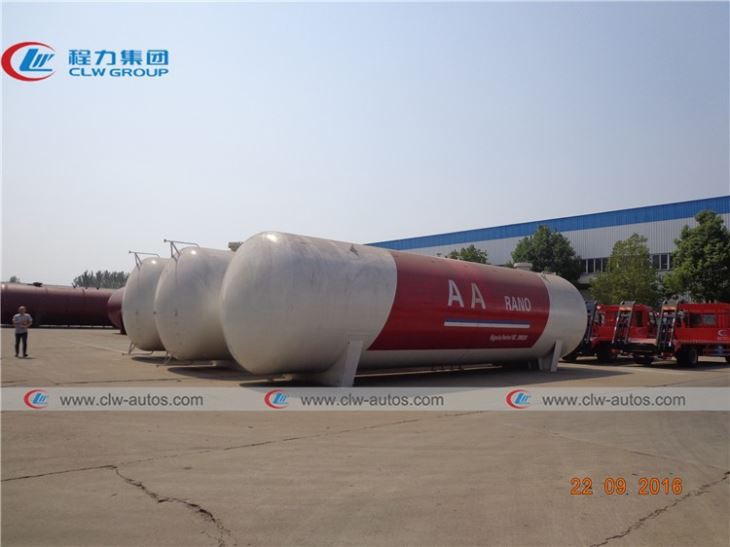
Choose a remote - control valve that is compatible with your LPG storage tank. Consider factors such as the tank's capacity, pressure rating, and the type of LPG being stored. As a supplier, we offer a wide range of valves suitable for different types of LPG storage tanks, including the 60,000Liters LPG Storage Tank, 60Tons 120000Liters 31000 Gallons Propane Storage Tank, and 40cbm LPG Storage Tank 20Tons Propane Gas Tanker.
Gathering Tools
Collect all the necessary tools for the installation, including wrenches, screwdrivers, pipe cutters, and sealants. Make sure the tools are in good condition and suitable for working with LPG systems.
Installation Steps
Step 1: Locate the Installation Point
Identify the appropriate location on the LPG storage tank for the remote - control valve. This location should be easily accessible for maintenance and operation. It should also be away from any potential sources of heat or ignition.
Step 2: Prepare the Tank
Clean the area where the valve will be installed to ensure a proper seal. Remove any dirt, debris, or rust from the tank surface. Use a wire brush or sandpaper to clean the area thoroughly.
Step 3: Install the Valve Body
Carefully place the valve body on the prepared installation point. Use the appropriate wrenches to tighten the bolts or nuts securely. Make sure the valve is properly aligned and there are no gaps between the valve and the tank.
Step 4: Connect the Piping
Connect the piping to the valve inlet and outlet. Use pipe cutters to cut the pipes to the appropriate length. Apply a suitable sealant to the pipe threads to prevent leaks. Tighten the pipe connections using wrenches, ensuring a leak - free joint.
Step 5: Install the Remote - Control System
Install the remote - control system according to the manufacturer's instructions. This may involve connecting wires, sensors, and control panels. Make sure all connections are secure and properly insulated.
Step 6: Test the Valve
Once the installation is complete, perform a leak test to ensure that there are no leaks in the system. Pressurize the tank slightly and check for any signs of gas leakage around the valve and pipe connections. Use a leak detector or soapy water to check for leaks. If any leaks are detected, tighten the connections or replace the seals as necessary.
Post - installation Checks
Functionality Test
Test the remote - control functionality of the valve. Use the remote - control device to open and close the valve multiple times to ensure smooth operation. Check the valve's response time and accuracy.
System Inspection
Inspect the entire LPG storage tank system, including the valve, piping, and remote - control system, for any signs of damage or wear. Look for loose connections, damaged wires, or any other issues that may affect the system's performance.
Maintenance and Troubleshooting
Regular Maintenance
Regular maintenance is essential to ensure the long - term performance and safety of the remote - control valve. Follow the manufacturer's maintenance schedule, which may include tasks such as lubricating moving parts, checking seals, and calibrating the remote - control system.
Troubleshooting
If you encounter any problems with the remote - control valve, such as a failure to open or close, or a leak, refer to the manufacturer's troubleshooting guide. In some cases, it may be necessary to contact a professional technician for assistance.
Conclusion
Installing a remote - control valve on an LPG storage tank is a complex but necessary process to enhance safety and efficiency. By following the steps outlined in this guide and ensuring proper maintenance, you can ensure the reliable operation of your LPG storage tank system.
If you're in the market for high - quality LPG storage tanks or remote - control valves, we're here to help. Our team of experts can provide you with the right products and guidance for your specific needs. Contact us today to start a procurement discussion and find the best solutions for your LPG storage requirements.
References
- "LPG Storage Tank Installation and Maintenance Guide", Industry Standard Publication
- Manufacturer's Manuals for LPG Storage Tanks and Remote - Control Valves